Showing posts with label D.I.Y. tutorial. Show all posts

Monday, 2 August 2010

my mixtape brings all the boys to the yard.

'' The MixTape Collection "

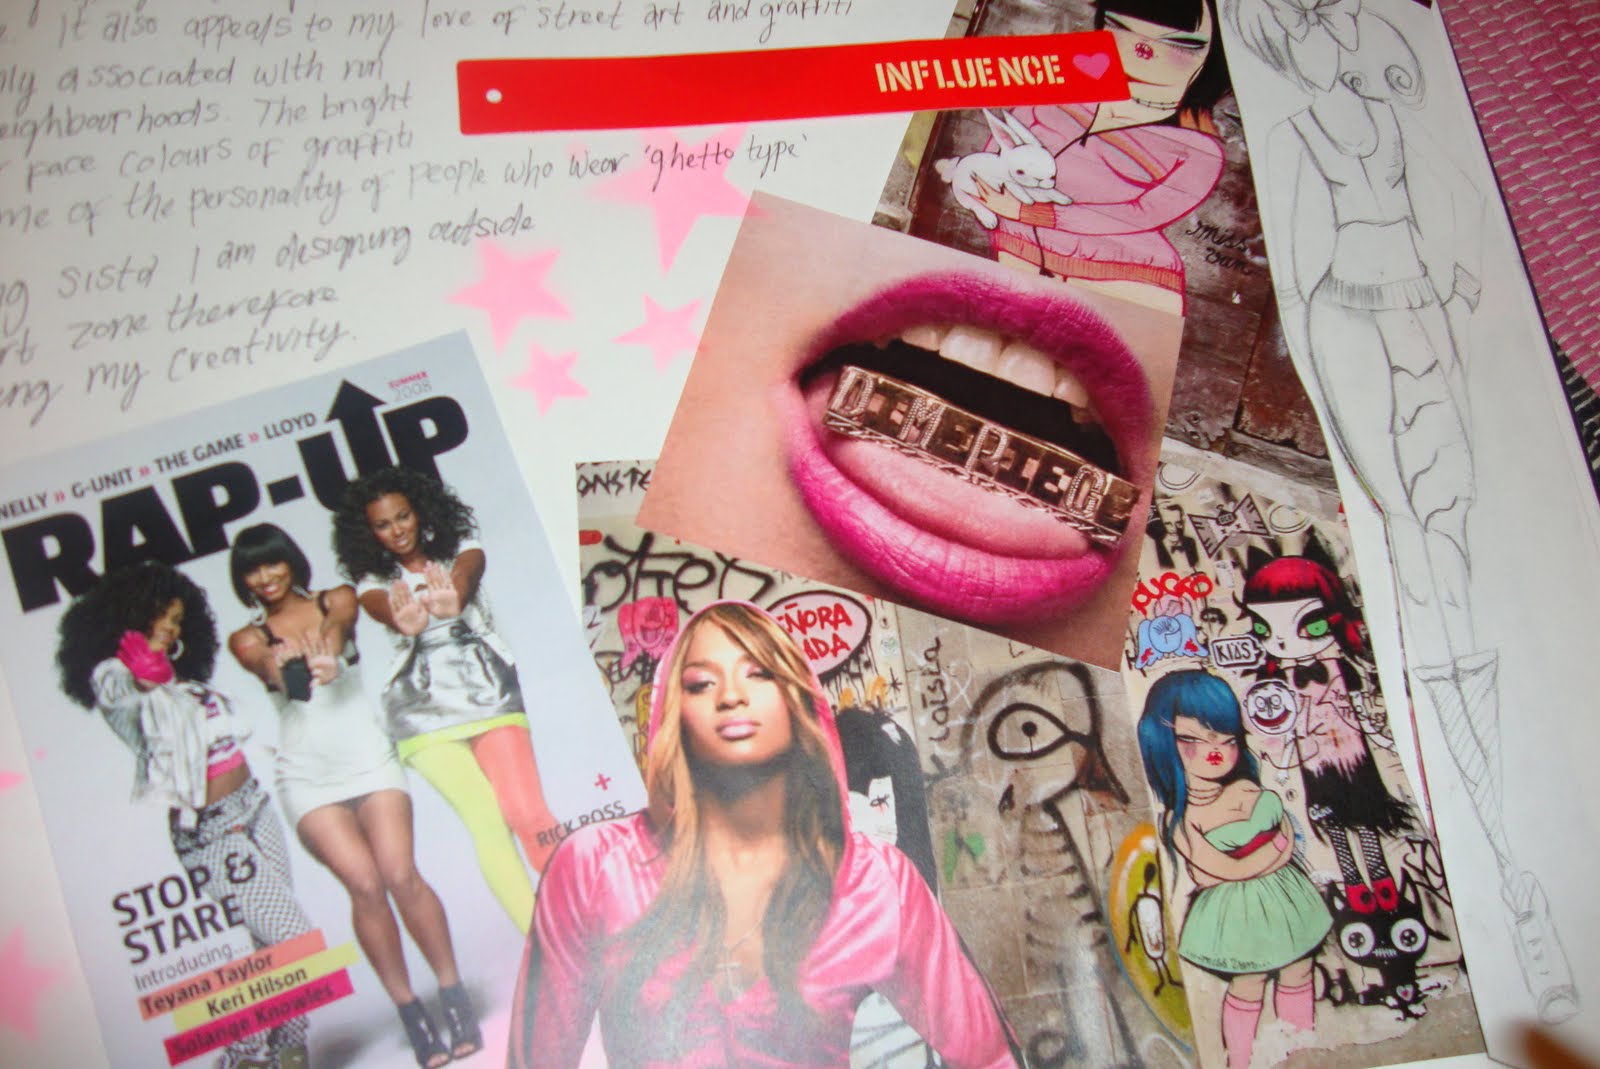
these are some photos showing things that were for a textile/jewellery unit I did at college, mines was based on my
love of mixed tapes & stencil art. I made a scarf, tshirt with stencil motifs using a printing screen & customized a 'tape' necklace with pink spray paint & diamontes.




(thankyou to my daisy girls - Kat & Miranda)

Stencil making is easy and is one of my most favourite techniques, I've used it on clothing, scrapbooks, home made cards,

heres how to make your own stencils: 


firstly, choose an image.. there is plenty of premades of the internet these are good to practice with before you can go onto creating your own personal & unique stencils, I love marilyn monroe so I've used this one from: www.spraypaintstencils.com


now what you are going to is carefully cut with a sharp stanley knife. and lay down the pieces
down to paper/material.

 voila! once you remove those bits of paper you will have a beautiful marilyn stencil!
If you are wanting to make use stencils on clothing you would be much better to invest in a printing screen it gives a much smoother effect (remember use a fabric dye)

Happy Printing
Love Rosie xo


Tuesday, 22 June 2010

kitch in your kitchen.


Cupcake Ingredients:
8 Tbsp (1 stick, 4 ounces) unsalted butter
1/2 cup cocoa
2 ounces chocolate, chopped
3/4 cup flour
3/4 teaspoon baking powder
1/2 teaspoon baking soda
2 large eggs
1/2 teaspoon salt
3/4 cup sugar
1 1/2 teaspoons mint extract
1/2 cup sour cream

1 Preheat oven to 350°F. Prepare a muffin tin by lining it with cupcake liners.
Use a double boiler or add an inch or two of water to a medium sized saucepan and place a metal bowl over it, bringing the water to a simmer. Add butter (cut into chunks), chocolate, cocoa to the bowl.
 As the butter and chocolate melt, whisk until the ingredients are well combined and smooth.
 Remove from heat and let cool to touch.

2 In a small bowl, sift together the flour,
baking soda, and baking powder.
3 In a large bowl (can use a mixer),
beat the eggs. Add the salt, the sugar,the mint extract and
beat until well combined. Slowly add in the chocolate butter mixture and beat until combined.
4 Add in half of the sifted flour mixture, mix to combine. Mix in the sour cream. Mix in the remaining flour mixture.

5 Spoon the batter evenly into the lined muffin cups.
Place in oven in middle rack. Bake for 18-20 minutes,
 until tops spring back when touched and a toothpick inserted into the center comes out clean.
6 Let cool in muffin tin on a rack for 15 minutes.
Then gently remove cupcakes from the tin and let cool completely before icing
Makes 12 cupcakes.

For the icing part:
1 In an electric mixer, beat the butter (if making buttercream)at medium speed until creamy.
Beat in milk (if making buttercream) and mint extract.
2 Slowly add in the powdered sugar on low speed,
stopping every now and then to scrape down the sides of the bowl,
 until light and fluffy. Taste and add more mint extract if it isn't minty enough for you,
or powdered sugar if it isn't sweet enough for you.


 Happy Cupcake Making!
  Love Rosie
     xo

Friday, 30 April 2010

D.I.Y for girls.

If you've read this months ID magazine. punk is in. studs&spikes are the new sequins.heres a little tutorial that is easy to do, I've even photographed the steps so you cant go wrong. this works well on updating items such as denims/checked shirts for summer or even your converse
I'm using the same process for a coat I'm doing for a fashionshow.


you will need:

  • iron on interfacing: helps make your fabric not flimsy so ur studs/spikes stay sitting up

  • selection of spikes/studs your choice i recommend http://www.studsandpunks.co.uk/

  • an awl.
If you material is quite soft or your planning on making a patch cut the interfacing, turn your clothing inside out and simply iron onto the back off it. Iron does need to be at the top temprature, do not touch straight away!

Next all you need to do it make a hole in the fabric with the awl. usually you may have to stretch it out a little bit for the screw to fit through the material. Next just fix top of the spike onto the screw and voila. Your punk.

if you end up using this tutorial please send me your finished results

Love Rosie
xo